User:Bojjob/Sandbox
This Cosmetic Images tutorial will show you how to create images for cosmetics. For this tutorial, we will be putting the Team Captain on the Soldier.
Contents
Setting up HLMV
Please see the Model Viewer page for instructions on setting up your model viewer if you haven't already.
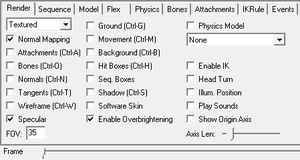
Once you have HLMV open, make sure your settings are the same as the ones to the right (Setting the FoV to a lower setting makes for a nicer image).
Finding the models
Once you have the model viewer open, you will first need to locate the correct class model.
You can do this by going to file > (Steam) Load Model... and then navigating to \models\player\hwm (You should always use HWM models for cosmetic images as they are much higher quality).
Select the Soldier model to open it up in the model viewer.
The model will most likely appear slightly off screen if this is the first time you have done this. If so, use MOUSE2 to zoom and ⇧ Shift + MOUSE1 to pan the model so that you can get a better view.
Once the model is in view, you'll need to equip the correct cosmetic.
This is done by going to file > (Steam) Load Weapon....
Valve-made cosmetics are found in \models\player\items and community made ones are found in \models\workshop\player\items.
Since we are using the Team Captain for this tutorial, navigate to the \models\player\items\soldier folder and find soldier_officer.mdl. This will put the hat on soldier's head.
As you can probably see now, the hat is poking through the Soldier's helmet. To fix this do the following:
- Click on the
modeltab - In the first drop-down menu, select
hat - In the drop-down menu next to that, select
Submodel 1
This will hide Soldier's helmet.
Posing
Next comes the fun part... posing your model!
Choosing a pose
First of all, you will need to pick a suitable pose for your soldier. To do this, click on the sequence tab and choose an animation from the first drop-down menu.
You will want to pick a nice pose that isn't too crazy and also doesn't cover up any of the cosmetic.
For this example, we will be making him salute by using his shotgun taunt animation, which is called taunt04.
Once you choose his pose, you will notice that he'll be laying flat on the floor. This is normal, as all the taunt animations start off in this pose.
To get him to stand up, all you need to do is use the Frame slider to pick the part of the animation you want to use. Anywhere between frame 110.0 and frame 133.0 is good for this picture.
Lastly, you'll need to rotate Soldier to get a better view of the cosmetic. This is done by clicking and holding MOUSE1 in the centre of the view and then dragging the model to rotate it.
Face posing
After you've gotten your Soldier into a good pose, you'll need to pose his face, to make the image more interesting.
To do this, click on the Flex tab.
In this tab, you will find a whole bunch of drop-down menus and sliders. Each one represents a specific part of the face.
For example, right_LipUpV will set the height of the right half of the top lip.
Feel free to experiment with each one before continuing, to get a feel for it. (Once you're done experimenting, you can press the Zero or Reset button at the bottom, to set everything back to default.)
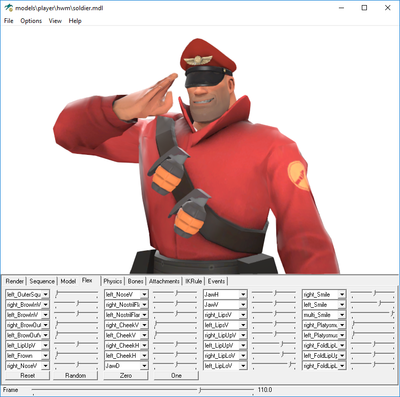
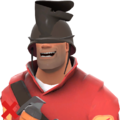
When picking an expression, try to pick one that best fits the emotions of the pose you're using. For this example, we'll be giving Soldier a slight smile to make him look a bit proud.
First of all, move the right_Smile and left_Smile sliders to the right a bit to give him the smile, then use the various lip sliders to show some of his teeth.
After you're done, you should have something like the example on the right.
Examples
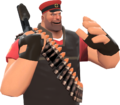
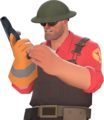
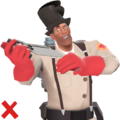
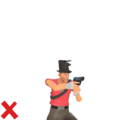
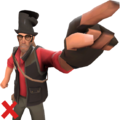
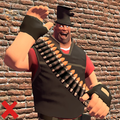
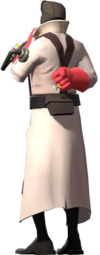
Below are examples of what to do and what not to do when making cosmetic images.
