Community Rotunda strategy
| “Sun Tzu's got nothing on us!” This article is a Community strategy stub. As such, it is not complete. You can help the Team Fortress Wiki Community Strategy Project by expanding it. |
| Rotunda | |
|---|---|

| |
| Basic Information | |
| Map type: | King of the Hill |
| File name: | koth_rotunda
|
| Released: | July 12, 2023 Patch (Summer 2023 Update) |
| Developer(s): | Paul "Brokk" Clausen Rhafael "Rhamkin" Oliveira Alex "FGD5" Stewart Roman "FanCyy" Malashkevich Bertrand "Tails8521" Penguilly Louie "bakscratch" Turner Christoph "Gadget" Manschitz Kevin "Ravidge" Brook Aeon "Void" Bollig Juniper Jesse "Custard1" Budd |
| Map Info | |
| Environment: | Alpine, industrial |
| Setting: | Daylight, sunny |
| Hazards: | Trains, crushing |
| Map Items | |
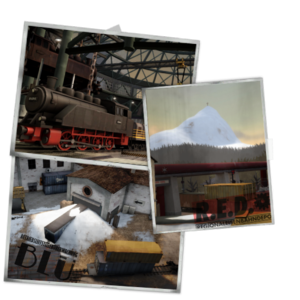
| Map Photos | |
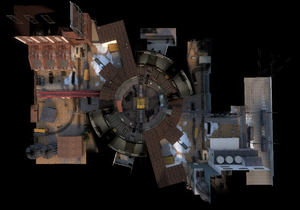
| Map Overview | |
This article is about Community Rotunda strategy.
Note: It is recommended to read the main Rotunda article first to become familiar with the names of key map locations used in this article.
General Strategy (All Classes)
See also: Community King of the Hill strategy
- Each team has a train at their spawn that can be jumped on to get a speed boost when getting to the control point.
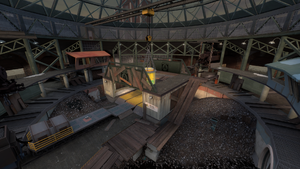
- There is an extensive tunnel network under and around the control point, containing a small health kit and a medium ammo pack. These routes can help flanking classes get behind the enemy lines quicker and safer, especially as they can be accessed from spawn.
Class-specific strategy
 Scout
Scout
- The control point has an area on top of it that is too high up for most classes, but Scouts can access it through a double jump. Once you are on top, you have a large positioning advantage over those below on the control point.
 Soldier
- As a Soldier you also can get onto the control point's roof with a rocket jump. However, this may require a smaller rocket jump than usual to prevent any unnecessary air time and vulnerability.
 Pyro
Pyro
 Demoman
 Heavy
Heavy
 Engineer
- Not many players will be in the tunnels around the point, making it an ideal spot for a teleporter. It allows your team to get directly behind the enemy team or in front of their spawn. The Eureka Effect's ability to teleport to your own Teleporter exit and reduced Teleporter cost is a great choice for this strategy.
- You can use this Teleporter to sneak another building through, such as a level 3 Sentry Gun, and use it to pick off enemies or block the enemy team's path to the point for a while and allow your team to start controlling more of the map.
 Medic
Medic
 Sniper
- The two platforms overlooking the control point give a large sightline over the entire inner part of the map which includes into the control point. This is a strong defensive position to ease the stress on your team while defending, but can also be used to create an opening for a push.

