Community Snakewater strategy
| “Gotta move that gear up!” This article may contain content that is out of date. You can help improve this article by updating the content as necessary. See the wiki style guide. Notes: some sections need rewriting due to map updates. |
| “Sun Tzu's got nothing on us!” This article is a Community strategy stub. As such, it is not complete. You can help the Team Fortress Wiki Community Strategy Project by expanding it. Notes: Expand the "General Strategy" section to cover map locations in more detail. Potentially look at the class-specific strategies as well. |
| Snakewater | |
|---|---|

| |
| Basic Information | |
| Map type: | Control Point |
| File name: | cp_snakewater_final1
|
| Released: | November 21, 2013 Patch (Two Cities Update) |
| Developer(s): | Toivo "chojje" Sawen |
| Map Info | |
| Environment: | Alpine |
| Setting: | Daylight, cloudy |
| Bot support: | Yes |
| Map Items | |
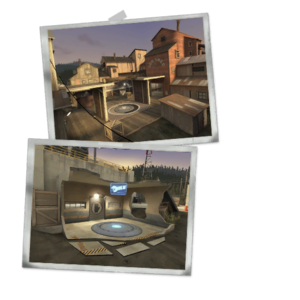
| Map Photos | |
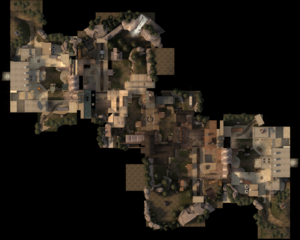
| Map Overview | |
This article is about Community Snakewater strategy.
Note: It is recommended to read the main Snakewater article first to become familiar with the names of key map locations used in this article.
General strategy
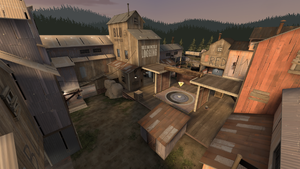
- This map has an open sky, so be careful of enemy Demomen sticky jumping or enemy Soldiers rocket jumping in from above.
- There are many flank routes on this map, so keep an eye out on all sides rather than just one.
Class-specific strategy
 Scout
Scout
- Make use of flank routes to ambush the enemy team. Use high ground that is actively present in this map to deny Soldiers rocket jumping your Medic.
 Soldier
- The open area makes your Rocket Launcher bad at long range. Use rocket jumping to close the distance between you and your enemies.
 Pyro
Pyro
- Pyros have an advantage on this map, as there are no available water sources for players to reach. Use the hit-and-run tactic to kill other players with Afterburn.
 Demoman
- Make sure to place stickytraps on the points to slow or stop the enemy from capping.
- Use sticky jumping to close long distances.
 Heavy
Heavy
- Be careful of Snipers, as the open areas leave you vulnerable to them.
 Engineer
- As a result of the open area, this map's center and second points are not good places for Engineer nests; your buildings will be easily open to spamming by the enemy team, and they will often be able to see your Sentry before it sees them, thus removing the element of surprise.
 Medic
Medic
- The open area leaves little room for hiding, so be careful of enemy Snipers who may try to headshot you.
 Sniper
- Make use of the open area to shoot enemies from beyond their range, but be careful of enemy Snipers.
 Spy
Spy
- As the map is relatively large and ammo packs are not very plentiful, it is recommended for you to use the Invis Watch. However, the Cloak and Dagger can be more viable for attacking the enemy's last point.

