Community Ghost Town strategy
| “You are so small! Is funny to me!” This article is a stub. As such, it is not complete. You can help Team Fortress Wiki by expanding it. |
| Community Ghost Town strategy | |
|---|---|

| |
| Basic Information | |
| Developer(s): | Unknown |
| Map Info | |
| Environment: | Desert |
| Setting: | Night |
| Hazards: | Pitfall |
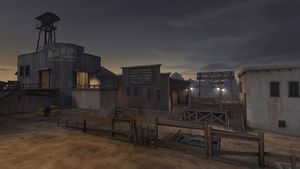
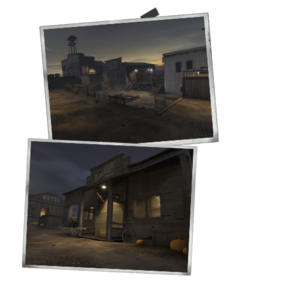
| Map Photos | |
This article is about Community Ghost Town strategy
Contents
General (All Classes)
- As there is only one 'wave' in Wave 666, there is significantly less free time to return to the spawn and buy upgrades. The best times to do this will be immediately after respawn, and when the next robots are slower Giants.
- You will receive 5000 credits at the start of the match, rather than the 400 most maps start you with. Use this money wisely.
- Due to the sheer number of robots that will attack you, each class with struggle in different parts of the Wave.
Class-specific strategy
 Scout
Scout
- A Scout may be a liability in this map. With the sheer volume of enemies that will be encountered, it is likely that a Scout player will die multiple times during this map.
- Maxing out your resistances before the round even starts may leave you with only 2000 credits for weapon upgrades, but will be a great help towards ensuring your survival in certain sections.
- A Scout with Template:Mad Milk can help keep his team alive if they use it often.
- Consider using the Template:Fan of War rather than the Template:Sandman for marking robots, as the Sandman does incur a small max health penalty when equipped, and the Fan does not need upgrading in order to provide the Marked effect.
- When the Giant Quick-Fix Medic - Giant Heavy combinations show up, marking the Medic will help ensure that they die quickly, especially if your team members are using Projectile Penetration upgrades to shoot the Medic and Heavy at the same time.
 Soldier
 Pyro
Pyro
 Demoman
- You will have little time to set up sticky traps when the robots start showing up, so the Template:Scottish Resistance will not be as effective on this map.
 Heavy
Heavy
- As the Heavy cannot upgrade the damage on their primary weapon, the class may seem at a significant disadvantage during Wave 666
- A Heavy that invests in Projectile Destruction will be invaluable during large Soldier Robot attacks, and less-so during Demoman attacks.
- Consider acquiring a Crit canteen for Tank attacks
 Engineer
- Given the length of the map, and the relatively small level of down-time you will get between robot appearances, having a two-way teleporter up and running quickly may prove invaluable to teammates who wish to purchase new upgrades.
- Ensure that most, if not all, of your teammates can reach your dispenser safely.
