User:Lolimsogreat21/Sandbox1
< User:Lolimsogreat21
Revision as of 15:18, 20 January 2022 by Lolimsogreat21 (talk | contribs) (→{{class link|Soldier}})
| “Sun Tzu's got nothing on us!” This article is a Community strategy stub. As such, it is not complete. You can help the Team Fortress Wiki Community Strategy Project by expanding it. |
| Lolimsogreat21 | |
|---|---|

| |
| Basic Information | |
| Developer(s): | Unknown |
| Map Info | |
| Environment: | Alpine |
| Setting: | Daylight, snowy |
| Hazards: | Pitfalls |
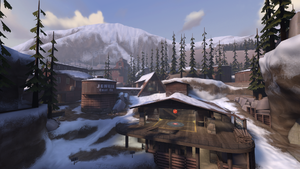
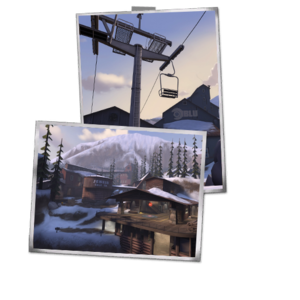
| Map Photos | |
This article is about Community Altitude strategy.
Note: It is recommended to read the main Altitude article first to become familiar with the names of key map locations used in this article.
Contents
General Strategy
Offense
- Every control point has multiple flank routes leading up to it. If one particular path is not working out, then try another.
- However, these very same flank routes can be utilized by the defenders, so beware!
- Due to drastic variations in elevation, having the ability to quickly change one's vertical position is quite important for a successful assault.
- Certain locations, such as Cliffs, Warehouse or B Hut usually become the epicenters of Red defenses. As such, they need to be secured first, before checkpoints themselves.
- The Cliffs can be captured by either sneaking up to them from the left side, or by quickly Rocket jumping to their top.
- The Warehouse is prone to being cut of from the Rocks.inc, thus isolating its defenders.
- The B Hut has an opening in its roof, through which explosives can be hurled.
Defense
- If the opportunity is right, Red members can occasionally outflank the attackers by making use of the various flank routes present.
- Defensive strategies such as laying Sticky traps and Turtling, which may work on other maps, are not particularly effective here, due to a general lack of Chokepoints.
- A Red team should not rely on Snipers for defense, since good sightlines are often broken up by multiple pieces of cover.
- This map contains lots of nooks and crannies, which serve as excellent hiding places for ambushes. They include, but are not limited to:
- Top of a bookshelf inside the Side Building.
- Under the Water tower.
- Under a staircase in the B Hut.
Class-specific strategy
 Scout
Scout
Offense
- Sneaking through the Side Building will allow you to get behind the Cliffs.
- By reaching the Rocks.inc, you will be able to flank behind the Warehouse and subsequently its defenders.
- Having either the Soda Popper or the Atomizer equipped grants you ability to jump on the B Hut's roof.
- Avoid heading directly into the B Hut, due to its cramped interior and the usual presence of a Sentry Gun.
- Move carefully through the Cable Cars' terminal, as its enclosed and compact nature ensure that you are at a disadvantage.
- Bonk! Atomic Punch is useful for distracting Sentry Guns on the final point, which are numerous.* Sneaking through the Side Building will allow you to get behind the Cliffs.
Defense
- You can launch valleys of Mad Milk, as well as other projectiles, from the elevations of Cliffs.
- Counter-flanking the attackers can be achieved through the Side Building.
- The Gated Shortcut can be quickly ascended with the help of the Force-A-Nature's self-knockback.
- Blu attackers love to setup a forward base in the Server room. Although you cannot destroy it singlehandedly, you can still harass it by doing swift attacks from multiple sides.
- Particularly helpful here are weapons which can deal high burst damage, such as the Flying Guillotine, as these allow you to pull of hit-n-run tactics
 Soldier
Offense
- It is important that you contest the Cliff position immediately after exiting the spawn, due to its immense High ground advantage.
- You can do this by utilizing your Rocket jump ability.
- There is a small opening in the B Hut's top, through which it is possible to launch rockets onto the defenders below.
- Of course, this requires you to first take control over the B Hut's roof.
- Due to the abundance of Sentry Guns found on the last control point, it is advised to use the Direct Hit.
- The Battalion's Backup is also useful in this case.
- Approaching the Server room from the direction of Red's first spawn will put you at an advantage.
