Difference between revisions of "Granary (Arena)"
m |
(→Control Point Timing: Use Template:Control Point Timing/Official Map) |
||
| Line 29: | Line 29: | ||
== Control Point Timing == | == Control Point Timing == | ||
| − | {{Control Point Timing | + | {{Control Point Timing/Official Map | MAP = Granary (Arena)}} |
| − | | | ||
| − | |||
| − | |||
| − | }} | ||
== External links == | == External links == | ||
Revision as of 23:12, 7 July 2010
| Granary (Arena) | |
|---|---|

| |
| Basic Information | |
| Variants: | Control Point |
| Developer(s): | Unknown |
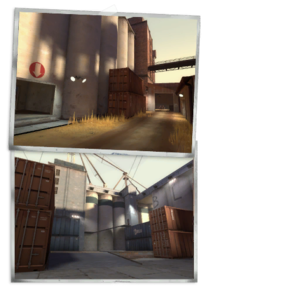
| Map Photos | |
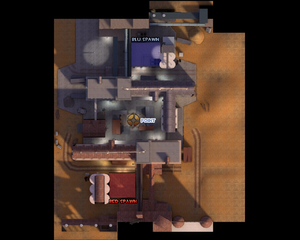
| Map Overview | |
Granary is an Arena map, and is a modified version of Granary (Control Point). Granary, along with Lumberyard, Ravine, Well (Arena), and Badlands (Arena), was released with the Heavy Update as the one of the first official Arena maps for Team Fortress 2. Similar to other modified arena maps, Granary (Arena) is generally the central control point area of its Control Point version.
The goal of your team is to eliminate the entire enemy team or capture the central capture point.
Contents
Introduction Video
Locations
The Yard
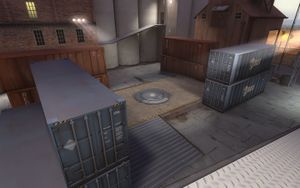
The central area from CP_Granary. The area has several shipping crates stacked around the platform in the middle, upon which the Capture Point is situated.
RED/BLU Catwalks
The metal pathways along the far walls of the Yard. One catwalk corresponds to each team's spawning area, and can be accessed by a nearby set of ramps.
Strategy
- Aside from the boxes, there is very little cover on this map. Staying mobile is an imperative.
- By jumping from the catwalk you can get on top of the storage crates. This method can be useful for Spies and Pyros trying to get behind the enemy and catch them in a surprise attack from the rear.
- When fighting around the point, use the containers to gain a height advantage. As a Demoman or Soldier you can Rocket jump up to them. If you're not a Rocket jumper, (Snipers for instance are useful there) you can still get on the containers by jumping from the balcony ramps.
- The containers are not parallel to one another, so if you can avoid fall damage by landing on the edge of one container, then the floor. This is helpful for Spies to avoid taking unneeded damage.
Control Point Timing
| Control Point | Multiplier | Seconds | ||
|---|---|---|---|---|
| Capture point | ×1 |
| ||
| ×2 |
| |||
| ×3 |
| |||
| ×4 |
|
External links

