Atom Smash
Revision as of 12:30, 21 August 2024 by BrazilianNut (talk | contribs)
| “You are so small! Is funny to me!” This article is a stub. As such, it is not complete. You can help Team Fortress Wiki by expanding it. |
| Atom Smash | |
|---|---|

| |
| Basic Information | |
| Map type: | Player Destruction |
| File name: | pd_atom_smash
|
| Released: | July 18, 2024 Patch (Summer 2024 Update) |
| Variants: | Monster Bash |
| Developer(s): | Aeon "Void" Bollig Juniper Mike "CornetTheory" Hillard Liam "Diva Dan" Moffitt Sky Freyja Zoey Benjamin "blaholtzen" Blåholtz PearForceOne Tim "SediSocks" BL |
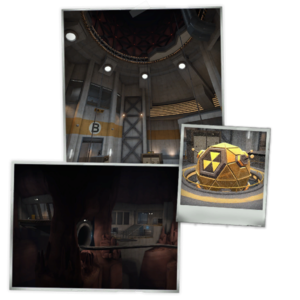
| Map Photos | |
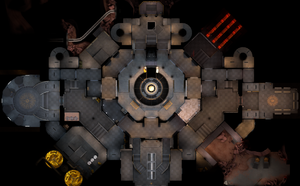
| Map Overview | |
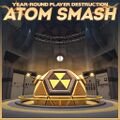
| Map Stamp | |
| Supporters Leaderboard | |
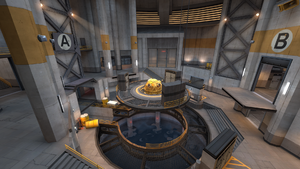
Atom Smash is a community-made Player Destruction map added in the Summer 2024 Update.
The delivery point is surrounded by a shield for a set period of time. After a set amount of time, the shield disappears, and it is possible to step onto the point and Irradiated Australium may be delivered by the team controlling the Delivery Zone. Once the delivery period is over, players are forced off the point and the forcefield goes back up.
Atom Smash was contributed to the Steam Workshop.
Contents
Locations
RED Side
- RED Spawn.
- Low exit from RED Spawn.
- High left exit from RED Spawn.
- Right exit with spiral stairs.
BLU Side
- BLU Spawn.
- Low exit from BLU Spawn.
- High right exit from BLU Spawn.
- Left exit with spiral stairs.
Battlements
- Stairs up to high Overlooks.
- Doorway to the Balcony.
- A pool of water under the delivery zone.
Strategy
Main article: Community Atom Smash strategy
 | “Sun Tzu's got nothing on us!” This map's Community strategy page is a stub. As such, it is not complete. You can help the Team Fortress Wiki Community Strategy Project by expanding it. Notes: None added |
Update history
July 18, 2024 Patch #1 (Summer 2024 Update)
- Added Atom Smash to the game.
July 18, 2024 Patch #2
- Fixed missing UI elements for the capture zone.
- Increased rarity of The Scientist's idle chatter between capture zone availability.
- Fixed the Casual Administrator overriding the Scientist
- Fixed some floating lights
Bugs
- The Administrator's start of round voice lines in Casual mode can be cut off by the Scientist's voice lines.[1]
Gallery
References
| |||||||||||||||||||||||||||||||||||||||||||||||||||||||||||||||||||


