Difference between revisions of "Asteroid"
m |
m (→Bugs: Removed fixed/irrelevant bugs, commented out something that I'm not entirely sure is a bug.) |
||
| Line 127: | Line 127: | ||
==Bugs== | ==Bugs== | ||
* The robots sometimes display %HEALTH% instead of a number indicating health, or display nothing at all when moused over, especially if the player backs through them. | * The robots sometimes display %HEALTH% instead of a number indicating health, or display nothing at all when moused over, especially if the player backs through them. | ||
| − | * Enemy robots can be walked through. | + | <!--* Enemy robots can be walked through.--> |
| − | |||
| − | |||
* Spawn gates are not configured like standard spawn gates | * Spawn gates are not configured like standard spawn gates | ||
** When setup ends, spawn gates disappear instead of opening like they do on other maps, | ** When setup ends, spawn gates disappear instead of opening like they do on other maps, | ||
| Line 135: | Line 133: | ||
** Spawn gates do not block bullets. | ** Spawn gates do not block bullets. | ||
* The pits to the left coming from each battlements has a small area on the far side where players can stand and build. | * The pits to the left coming from each battlements has a small area on the far side where players can stand and build. | ||
| − | |||
==Trivia== | ==Trivia== | ||
Revision as of 23:40, 20 July 2014
| “Gotta move that gear up!” This article may contain content that is out of date. You can help improve this article by updating the content as necessary. See the wiki style guide. Notes: None added |
| “You are so small! Is funny to me!” This article is a stub. As such, it is not complete. You can help Team Fortress Wiki by expanding it. |
| Asteroid | |
|---|---|
| |
| Basic Information | |
| Developer(s): | Unknown |
| Map Info | |
| Environment: | Space |
| Setting: | Space |
| Map Photos | |
| Map Overview | |
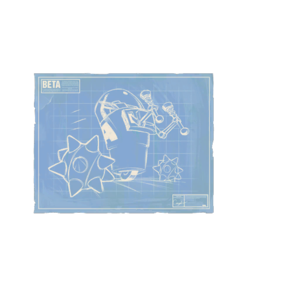
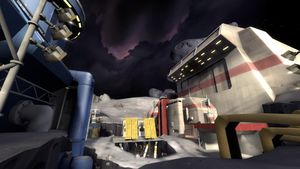
Asteroid is a Robot Destruction beta map, released in the July 8, 2014 patch. The map is set between two space stations. The goal of the map is to be the first team to obtain a total of 300 points which can be collected through two methods: destroying robots wandering in the opposing team's space station or stealing the opposing team's reactor core (similar to the Capture the Flag gamemode). The opposing team's reactor core holds all the points gathered by that team and can be brought back to a base to steal a certain amount of points. The total amount of points tied to the reactor core increases the longer the player stands on the spawn point of the opposing team's reactor core.
As of the July 8, 2014 patch, it is unfinished and still in development, but the TF2 community is allowed to play-test it and give feedback to Valve on how to balance the map.
Contents
Locations
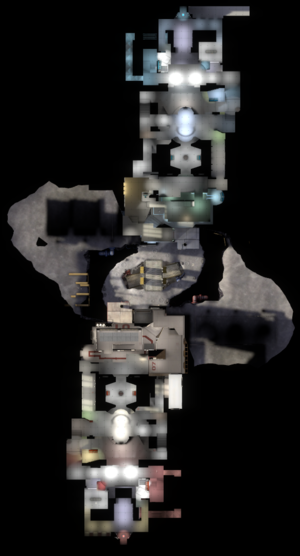
Asteroid is a mirrored symmetrical map.
- Bridges – The main choke point of the map, the Bridge connects the two above-ground RED and BLU bases. Two more bridges on the sides of the main Bridge mirror eachother and allow for more than 1 way across the gap.
- Hallways – A series of hallways connecting to the center. The A robots can be found nearby.
- Spawn – A windowed chamber with overlook of the B robots and exits into the battlements and Reactor.
- Reactor – The final room, this contains the B robots within a glass chamber facing away from the outer entrance, and a path leading directly to the visible Reactor Core guarded by alternating laser beams. There is two alternate ways into the Reactor; a path to the right, traveling through a separate small room, bypassing the lasers, and a longer ventilation system located to the left which allows entering and exiting, unlike the shorter path.
- Upper Deck – A small little overlook which contains the C robots and also hangs above the platform that houses the A robots.
Robots
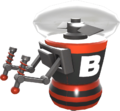
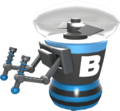
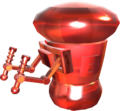
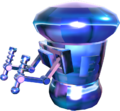
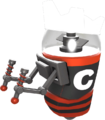
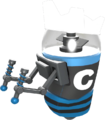
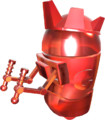
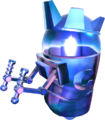
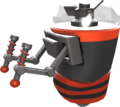
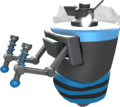
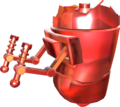
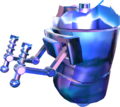
The robots featured on this map serve as scoring targets. Players may attack the robots, which drop Power Cores when destroyed, which may then be collected for points. One point is scored for the player's team for each Power Core collected. Friendly robots will heal their team players if they're close to them
The robots are separated into three areas, named A, B, and C. There are two robots moving around each area. They will always follow their path that is marked on the floor, unless they are being attacked.
Robot data
| Group | № Robots | Cores per robot | Health per robot | Respawn time |
|---|---|---|---|---|
| A | 2 | 5 | 500 | 60 |
| B | 2 | 10 | 500 | 90 |
| C | 2 | 25 | 500 | 90 |
Robot behavior
Robots in areas B and C are protected by what appears to be an ÜberCharge when the robots in front of them are alive; Robots B are protected if any Robot A is alive and Robots C are protected if any Robot B is alive.
After 7 seconds without taking damage, the robots heal themselves at a rate of 8 health per second.
All of the robot groups share a respawn timer. The timer is reset when each group of robots is destroyed.
When destroyed, Robots A and B drop their associated amount of Power Cores in a single drop. When Robots C are destroyed, they perform a death animation wherein they run around dropping a stream of Power Cores.
When destroyed, Robots A and B also gib (drop destroyed Dispenser parts), these gibs may be collected for Ammo or Metal.
The Robots are defenseless, but will attempt to escape from attackers by running in circles.
Strategy
Update history
- Added Mann Co. Beta Maps - Early Access program.
- Added 2 new beta maps: rd_asteroid and pl_cactuscanyon.
- Beta maps can be accessed via the Quickplay menu by checking the "Play Beta Maps" option.
- Updated rd_asteroid
- Fixed incorrect respawn times for Blu attackers
- Fixed missing kill triggers in pits
- Added blockers to starting gates to prevent Engineers from building outside the base before the round starts
- Added medium health kit near large ammo pack at the front doors of each base
- Removed the ability to create buildings in the lasers
- Removed chair prop from vent access room near vault
July 9, 2014 Patch #2
- Updated rd_asteroid to fix another problem with respawn times for Blu attackers
- Layout has been adjusted with the overall goal of improving visibility of teammates
- Removed spawn teleporter
- Reduced map size by removing the front lobby and cave sections
- Added terrain paths on the sides of the mid bridge
- Increased width of the mid bridge
- Removed doors that locked when A and B robots were active
- Robots have been rearranged:
- A robots now roam the bridge above the water
- B robots now roam around the floor in front of the vault
- C robots now roam around the upper deck
- Added more line of sight blockers to the water room to provide better cover during combat engagements
- Reduced travel time for the water flanking route under the interior bridge
- Added a drop down to enter the water room from the front door staging area
- Increased size of the glass room near C robots to provide flanking cover to use against Sentry Guns that are placed at the corner of the upper deck
- Increased width of vault corridors
- Reworked vent route that leads to the vault, no longer need to crouch jump on exit
- Moved left spawn exit forward to reduce effectiveness of spawn camping
- Added a resupply cabinet to the right side spawn exit
- Re-positioned health and ammo pickup locations
- Added ramp collision to stairs
- Fixed gap in the death pit that allowed players to survive
- [Undocumented] Removed unused paths from rd_asteroid
Bugs
- The robots sometimes display %HEALTH% instead of a number indicating health, or display nothing at all when moused over, especially if the player backs through them.
- Spawn gates are not configured like standard spawn gates
- When setup ends, spawn gates disappear instead of opening like they do on other maps,
- Spawn gates are not aligned properly
- Spawn gates do not block bullets.
- The pits to the left coming from each battlements has a small area on the far side where players can stand and build.
Trivia
- There is commented out I/O to disable the laser trap when all the robots are destroyed.
- The reactor cores are set up for paint, similar to a hat.
- There are several areas in the map that are enclosed and can only be entered in the spectator freecam.
Gallery
External links
References
